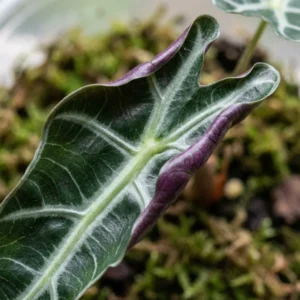
If you have spent any time on “PlantTok” (Plant TikTok), you have seen the videos: oddly satisfying clips of tweezers peeling away the brown, crusty shell of an Alocasia corm to reveal a pristine, white pearl underneath. It looks great, but is it safe? Does it actually help the plant grow, or is it just an aesthetic trend that invites rot? In this experiment, we break down the Peeling Method to see if it’s worth the risk.
Yes, peeling works. Removing the tough outer husk (tunic) eliminates a physical barrier to moisture, allowing roots to emerge 2-3 weeks faster than unpeeled corms. However, it removes the plant’s natural armor, making it highly susceptible to fungal rot. Only peel if you can provide a sterile, high-humidity environment.
Jump to Sections
ToggleThe Science: Why Peel?
In nature, Alocasia corms rely on that hard brown shell (the tunic) to survive dormant seasons in dry soil. It prevents the corm from desiccating.
However, in our propagation boxes, we are providing 100% humidity. The shell becomes unnecessary and can actually trap water against the skin, causing rot, or simply physically block weak roots from pushing out.
✅ Pros of Peeling
- Speed: Roots can emerge in as little as 5 days.
- Visibility: You can see rot immediately if it starts.
- Hygiene: Removes old soil trapped in the husk.
❌ Cons of Peeling
- High Risk: Exposed tissue rots easily.
- Labor Intensive: Takes time and steady hands.
- Damage: You might accidentally stab the growth point.
Tools You Need
This is surgery. Treat it like one.
- Tweezers: Pointed precision tweezers are best.
- Rubbing Alcohol: To sterilize tools.
- Hydrogen Peroxide (3%): Essential for the final rinse.
- Paper Towel: To dry the corm.
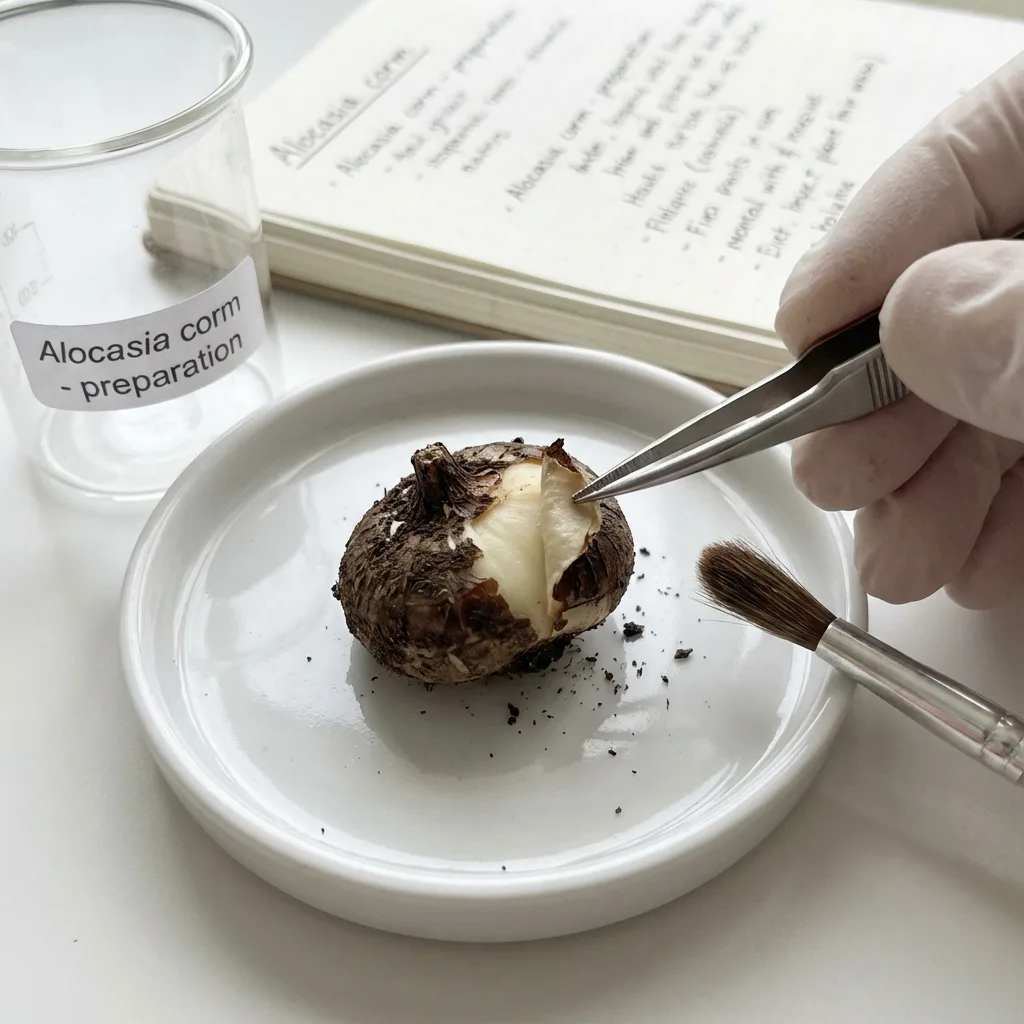
The Peeling Technique (Step-by-Step)
Step 1: The Soak
Never try to peel a dry corm. It’s like trying to peel a dry sticker—it shreds.
Soak the corms in lukewarm water for 1-2 hours. The brown husk will soften and become pliable.
Step 2: Locate the Top
Identify which end is up. The “top” usually has a pointy tip (the growth point). The “bottom” is flatter and has scar tissue from where it was attached to the mother plant.
Step 3: The Incision
Start at the top (carefully!). Use tweezers to grab a loose edge of the brown skin. Pull it downwards towards the bottom, like peeling a banana.
Warning: Identify the “eyes” (small bumps on the side). Do not gouge them. That is where roots come from.
Step 4: The Clean Reveal
Continue until the corm is largely creamy white or light green. It’s okay if small stubborn bits of brown skin remain. Do not dig deep to remove them. It’s better to leave a bit of skin than to create an open wound.
💡 Pro Tip: If the corm feels squishy while peeling, it’s already rotting. Throw it away.
Step 5: The Safety Bath
Now that the corm is naked, it has no immune system. Dip it in a mix of water and Hydrogen Peroxide (3 parts water, 1 part peroxide) for 30 seconds. This kills surface spores.
Best Mediums for Peeled Corms
We tested the three most popular substrates. Here are the results for peeled corms:
- Fluval Stratum (Winner 🏆): The buffering capacity and nutrients of Stratum made roots explode in 7 days.
- Sphagnum Moss: Good, but risk of rot is higher if the moss is too wet. Wrap gently.
- Perlite: Safest (lowest rot risk) but slowest. Provides great airflow.
- Water (Puddle): Fast rooting but dangerous. Only fill water halfway up the corm.
Troubleshooting: It’s turning brown!
If your white peeled corm starts turning mushy brown, it’s rotting.
Emergency Fix: Take it out, rinse with pure peroxide, cut off the mush, let it dry for an hour, and put it in Perlite (dryer medium).
Frequently Asked Questions
Do I have to peel them?
No. Nature doesn’t peel them. Unpeeled corms will sprout, it just takes 2-4 weeks longer.
What if I accidentally snapped the top off?
Don’t worry. Alocasias are resilient. As long as the main body of the corm is intact, it will likely push out a new growth point from the side.
🌿 Next Steps
Once it sprouts, you need to know how to pot it: