Hello fellow Alocasia enthusiasts! It’s Alex here, your friendly guide in the often-wondrous, sometimes-challenging world of these jungle jewels. We all marvel at the stunning leaves of our Alocasias, from the velvety depths of a ‘Black Velvet’ to the striking veins of a ‘Polly’. And sometimes, that admiration sparks a curious question: can you actually grow Alocasia from seed?
The short answer? Yes, absolutely! The longer, more realistic answer? Yes… but it’s quite an adventure, demanding patience and specific care. It’s definitely not the quick-fix propagation method most of us rely on (hello, trusty corms!). But if you’re intrigued by the challenge and the unique satisfaction of nurturing an Alocasia right from its very beginning, then you’ve come to the right place. Let’s demystify the process together and explore if this journey is right for you.
Jump to Sections
ToggleFirst Things First: How Alocasias Make Seeds
Before we dive into sowing, let’s quickly understand where these seeds even come from. Like many aroids, Alocasias produce a unique flower structure called an inflorescence. You might have seen it – that hooded leaf (the spathe) protecting a central spike (the spadix). The spadix contains tiny separate male and female flowers.
Here’s the catch: Nature often sets things up so the male and female parts mature at slightly different times, making self-pollination tricky indoors. Outdoors, insects might do the job, but inside our homes, it rarely happens without a helping hand. Successful pollination means the female flowers develop into berries, usually clustered together on the spadix. These berries, when ripe, contain the precious Alocasia seeds.
Getting Your Hands on Seeds: Harvesting vs. Buying
So, you want to try growing from seed. You generally have two paths to get those seeds:
Harvesting Alocasia Seeds: A Rewarding (But Tricky) Process
If you’re lucky enough to have an Alocasia flower and achieve pollination (often requiring manual transfer of pollen with a small brush at just the right time – a detailed topic perhaps for another day!), you might be rewarded with berries. This is the essence of harvesting alocasia seeds berries.
Wait patiently for the berries to fully ripen. They usually signal readiness with a distinct color change, often to a vibrant orange or red, and might feel slightly soft to the touch. Now, pay close attention, this is crucial: Alocasia plants, including their berries, contain calcium oxalate crystals. These microscopic needles can irritate your skin and are toxic if ingested. Always wear gloves when handling any part of the Alocasia, especially the berries, and keep them well away from curious pets or children. Safety first!
The Essential Cleaning Step: Removing the Pulp
Once you’ve carefully collected your ripe berries (wearing those gloves!), you encounter a critical step: cleaning the seeds. The fleshy pulp surrounding the seeds contains chemicals that, according to established horticultural practice, can inhibit germination. You must remove it thoroughly for the best chance of success.
Here’s a reliable method:
- Gently mash the berries inside a bowl or container (gloves still on!).
- Add some room-temperature water and swish the mixture around.
- Pour everything through a fine mesh sieve, rinsing well under cool running water. Gently rub the seeds against the sieve with your gloved fingers to help dislodge all the sticky pulp.
- Some experienced growers find that letting the mashed berries sit in water for 24-48 hours (a light fermentation) can help break down the pulp before the final rinse. Thorough rinsing remains key regardless.
Your goal is completely clean, hard seeds with absolutely no fruit residue clinging to them.
Buying Alocasia Seeds: Navigating the Market
Don’t have flowering Alocasias or the time for pollination experiments? Buying seeds is another route. However, be aware of a major hurdle: Alocasia seed viability. Many Alocasia seeds are what botanists call ‘recalcitrant’. In simple terms, they don’t store well and lose their ability to sprout very quickly once they dry out or age. Freshness is absolutely vital.
My best advice? Seek out reputable specialist sellers who focus on aroids or rare tropical plants. Don’t hesitate to ask about the seed collection date if possible. Exercise caution when considering generic ‘Alocasia seeds’ listed on large online marketplaces – the freshness, viability, and even correct identification can sometimes be questionable. While you might find listings for rare alocasia seeds, doing your homework on the seller is important.
The Germination Gauntlet: Your Step-by-Step Guide to Growing Alocasia from Seed
Alright, you’ve acquired your clean, hopefully viable seeds. Now begins the delicate process of germination. This germinating alocasia seeds guide will walk you through creating the specific conditions these seeds need to sprout. Success often hinges on mimicking their tropical origins.
Gather Your Supplies: What You’ll Need
- Fresh Alocasia seeds (Remember: the fresher, the better!)
- Small pots or a seed tray with good drainage holes.
- A clear humidity dome, plastic wrap, or a sealed clear container to cover your pots/tray.
- Sterile germination medium (see next section).
- A spray bottle with clean water (distilled or rainwater is ideal) for misting.
- Highly Recommended: A seedling heat mat. Consistent warmth is key.
- Optional but helpful: A broad-spectrum liquid fungicide suitable for seedlings, to prevent fungal issues.
Preparing the Perfect Seed Starting Mix
To prevent deadly fungal diseases like “damping off,” your seed starting mix needs three key properties: it must be sterile, well-draining, and able to hold consistent moisture. You’re aiming for the best soil mix for alocasia seeds in terms of these characteristics. Good options include:
- A high-quality, pre-made sterile seed starting mix.
- Finely chopped sphagnum moss (you can sterilize moist sphagnum in a microwave for 60-90 seconds – just be sure to let it cool completely!).
- A mixture of coco coir and perlite or vermiculite (ensure components are clean).
Whatever medium you choose, moisten it thoroughly before sowing – it should be damp like a wrung-out sponge, not soaking wet. Sterilizing your chosen mix yourself (like carefully baking moist soil in the oven at a low temperature) is an extra precaution some growers take.
Sowing Your Alocasia Seeds
- Fill your clean pots or tray cells with the prepared moist medium, settling it gently.
- Carefully place the clean seeds on the surface of the medium.
- Sow them very shallowly. Just barely cover them with a whisper-thin layer of your mix or a sprinkle of fine sphagnum moss. Planting too deep is a frequent cause of germination failure.
- If using a multi-cell tray, give each seed a little space to itself – avoid overcrowding.
Creating the Ideal Germination Environment
This stage requires vigilance. Alocasia seeds have specific demands:
- High Humidity: Immediately cover your container with its humidity dome or plastic wrap. The goal is to maintain humidity close to 100%. It’s wise to briefly lift the cover daily for air exchange or poke a few small ventilation holes to discourage mold growth.
- Consistent Warmth: This is arguably the most critical factor. Alocasia seeds need steady warmth to germinate. The ideal alocasia seed germination temperature is often cited by growers as being between 75-85°F (24-29°C). A seedling heat mat placed underneath the tray is the most reliable way to maintain this consistently. Avoid placing the tray in cold spots or drafty areas.
- Bright, Indirect Light: Position the covered container in a location with bright light, but shielded from harsh direct sunlight, which could overheat the setup. A spot near a bright window or under grow lights works well.
- Moisture: Keep the germination medium consistently moist. Check daily and mist gently with your spray bottle whenever the surface begins to look slightly dry. Avoid letting the medium dry out completely, but equally important, avoid making it waterlogged.
- Fungus Prevention (Optional): Because high humidity also favors fungal growth, a preventative application of a diluted fungicide labeled safe for seedlings can be beneficial. If you choose to use one, follow the product’s mixing and application instructions meticulously.
The Waiting Game: Patience and Timelines
Now comes the hardest part for many of us: waiting! How long for alocasia seeds to sprout? Be prepared for a potentially long wait. While some might sprout in as little as 2-3 weeks under ideal conditions, it frequently takes 1 to 3 months, and occasionally even longer, depending on the species, seed freshness, and environmental consistency.
Don’t lose hope if you don’t see activity right away. Maintain those consistent conditions. It’s also perfectly normal for not every single seed to germinate; success rates can vary. If you encounter problems germinating alocasia seeds, double-check that your temperature is consistently warm, humidity is high, the medium isn’t too wet or too dry, and that your seeds were as fresh as possible. Often, the solution is simply more patience.
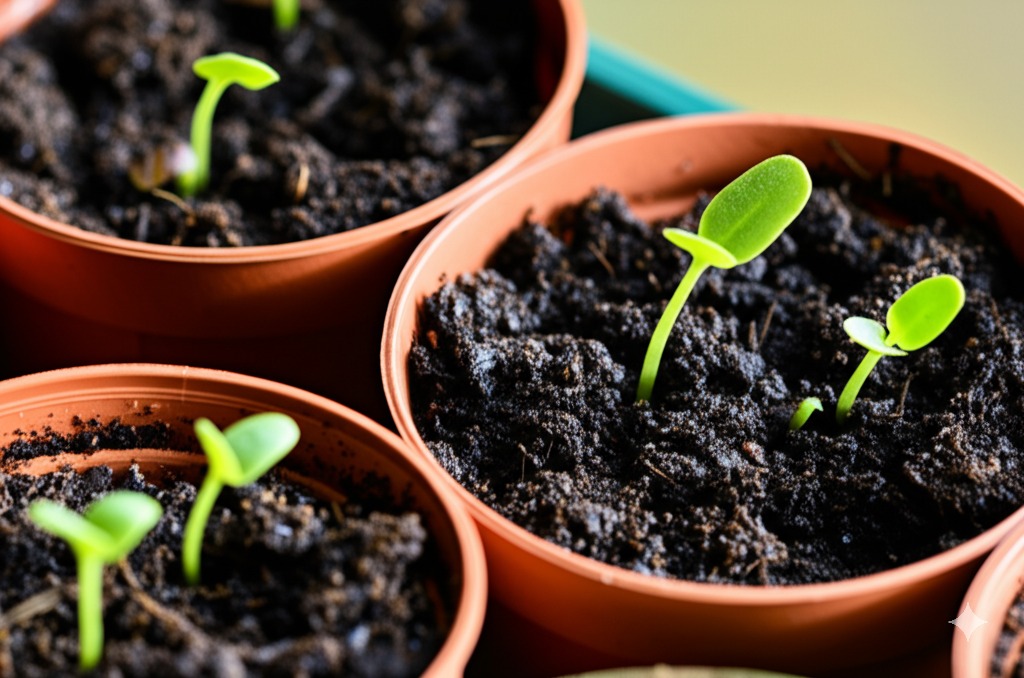
Nurturing New Life: Caring for Your Alocasia Seedlings
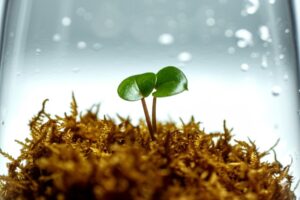
That moment when you spot the first tiny green shoot pushing through is incredibly rewarding! But these baby plants are delicate. Proper alocasia seedling care is crucial for their survival.
- Acclimation: Once your seedlings have developed their first true leaf (the one that looks like a miniature version of an adult leaf, not just the initial seed leaves or cotyledons), they need to slowly adapt to normal room humidity. Begin by propping the humidity dome open slightly or poking larger holes in the plastic wrap. Gradually increase the ventilation over several days, or even a week or two. Rushing this step can shock the seedlings.
- Light: Continue providing bright, indirect light. Insufficient light will lead to weak, stretched (‘leggy’) seedlings, while direct sun will scorch their tender leaves.
- Watering: Keep the growing medium consistently moist, but never soggy. As they grow slightly larger, you might be able to water gently from the bottom (letting the pot soak up water) or carefully water the medium around the base of the seedling, avoiding wetting the leaves excessively.
- Feeding: Hold off on fertilizer until the seedlings have developed a couple of true leaves. Then, you can begin feeding with a heavily diluted balanced liquid fertilizer – start at quarter-strength or even less – perhaps every 2-4 weeks during active growth. Too much fertilizer too soon will burn them.
- Handling: Be incredibly gentle whenever you need to handle them. Their root systems are tiny and fragile.
- Transplanting: When seedlings seem robust enough to handle, have several true leaves, and perhaps their roots are beginning to fill their initial cell or small pot, you can carefully transplant them into slightly larger individual pots. Use a high-quality, well-draining potting mix suitable for adult Alocasias.
The Verdict: Is Growing Alocasia from Seed Worth Your Time?
Let’s circle back to our initial question about viability, considering the journey we’ve just outlined. Is this intricate, often slow process genuinely worthwhile for the average houseplant enthusiast?
The Pros: Why You Might Take the Plunge
- Deep Satisfaction: There’s an undeniable sense of accomplishment in successfully nurturing a plant from a tiny seed.
- Genetic Diversity: If you managed to cross-pollinate different Alocasia varieties, seeds offer the exciting potential for unique offspring unlike either parent.
- Access to Rarity: For some extremely rare or newly discovered Alocasia species, seeds might occasionally be the only available means of acquisition for hobbyists.
- Potential for Quantity: A successful batch of seeds can eventually yield multiple plants, potentially at a lower cost per plant than buying established ones (though the time investment is significant).
The Cons: Understanding the Challenges
- It’s SLOW: Seriously slow. Don’t expect a plant that looks like the ones in the store for several years. Patience is measured in months and years, not weeks.
- It’s Difficult: Requires specific environmental controls (especially warmth and humidity) and meticulous attention to detail.
- Low/Unpredictable Success: Seed viability is often short-lived, and germination rates can be frustratingly low, even under good conditions.
- Requires Effort/Equipment: The need for sterile practices, humidity domes, and ideally heat mats adds complexity compared to other methods.
The Easier Alternative: Alocasia Corm Propagation
Let’s be perfectly candid: when comparing alocasia seed vs corm propagation, the latter is almost always the winner for ease, speed, and reliability for most home growers. Many Alocasias naturally produce small underground storage organs called corms, or even tinier offsets known as bulbils. These can be easily separated from the mother plant (often found when repotting) and potted up individually. They usually root and produce leaves relatively quickly, creating new plants identical to the parent much faster than seeds. For most enthusiasts simply looking to multiply their favorite Alocasias, propagating from corms is the recommended and far more straightforward path.
Conclusion: Your Alocasia Propagation Path
So, can you grow Alocasia from seed? Yes, you certainly can. Is it a viable method for everyone? Perhaps not. It’s a journey best suited for the patient, the detail-oriented, the curious grower who relishes a challenge and finds deep satisfaction in the process itself, regardless of the timeline or potential setbacks.
Whether you decide to embrace the seed-starting adventure, stick to the reliable path of corm propagation, or simply enjoy the Alocasias you already have, the connection we build with these stunning plants is what truly matters. Celebrate every new leaf, admire every intricate pattern, and keep learning. Happy growing!