Jump to Sections
ToggleWelcome Home, Jewel! Why Your New Alocasia Needs Special Care
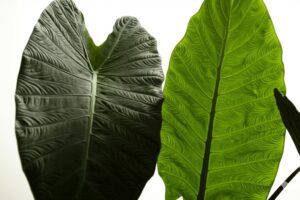
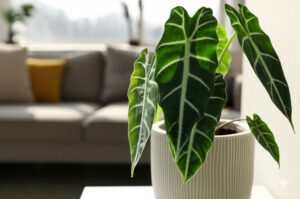
So, you’ve brought home a stunning new Alocasia! Whether it’s a striking ‘Polly’, a velvety ‘Black Velvet’, or another beautiful variety, the excitement is real. These plants, often called ‘Elephant Ears’ or ‘Jewel Alocasias’, add such a dramatic tropical flair to our homes. But here’s a little secret: that journey from the greenhouse, the store shelf, or especially a shipping box, to your living room can be quite a shock to their system.
Think of it like us moving to a completely new environment – it takes time to adjust! Plants experience this too, and we call it “plant shock” or “transport stress.” Alocasias, while gorgeous, are known for being a tad sensitive to these changes. Don’t worry, though! This guide is here to hold your hand and walk you through acclimating new alocasia plants step-by-step, setting your new gem up for success.
What is Plant Shock and Why Are Alocasias Prone to It?
Simply put, plant shock is the stress a plant shows when its environment changes suddenly. What kind of changes? Big shifts in light levels, a sudden drop in humidity (very common moving from a humid greenhouse to a drier home), temperature swings, being physically handled or jostled during transport, and even changes in watering routines can all contribute.
Why do Alocasias often react more dramatically than some other houseplants? Their tropical origins mean they thrive in consistently warm, humid conditions with filtered light, like on a rainforest floor. Our homes rarely match this perfectly! They particularly dislike drafts and abrupt drops in humidity. Their root systems can also be sensitive to disturbance.
So, don’t panic if your new Alocasia looks a little droopy or sheds a lower leaf in the first few days. It’s often a normal part of the adjustment. Our goal is preventing stress in newly bought alocasia from becoming a major setback, giving it the best chance to thrive.
Unboxing & Initial Inspection: Your First Steps
Okay, let’s get practical. The moment your Alocasia arrives, take these steps:
- Gentle Unboxing: Carefully remove all packaging. Try not to yank the plant out; support it from the base if possible. Check for any obvious broken stems or crushed leaves from the journey.
- The Critical Pest & Disease Check: This is super important! Before you even think about placing it near your beloved plant family, grab a magnifying glass if you have one and inspect thoroughly:
- Leaves: Check the tops, undersides, and where the leaf meets the stem (petiole). Look for fine webs (spider mites), tiny white cottony blobs (mealybugs), minuscule black or pale moving specks (thrips), or hard bumps (scale).
- Stems & Soil: Scan the stems and the surface of the soil for any unwelcome guests or fuzzy mold.
- Why? Catching pests early is crucial to prevent an infestation spreading to your other plants!
- Quick Clean-Up (Optional): Gently wipe down the leaves with a soft, damp cloth using only water. This removes transport dust and can dislodge tiny pests you might have missed.
- Assess the Damage: Take note of any significant transit damage. A slightly bent leaf is usually fine, but note any major breaks.
The Golden Rule: Quarantine Your New Alocasia
I can’t stress this enough: quarantine is non-negotiable. Keep your new Alocasia completely separate from all your other houseplants for at least two weeks, though 3-4 weeks is even better. Pests or diseases can take time to show up, and this isolation period is your best defence against spreading problems. Find a spot away from your main plant collection that still offers the right conditions, which brings us to…
Creating a Safe Haven: Ideal Conditions for Acclimation
During quarantine and the initial settling-in period, focus on providing a stable, gentle environment:
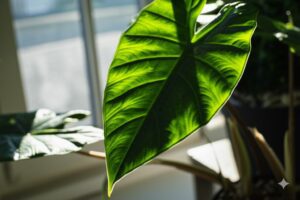
Finding the Right Light: Your Alocasia needs bright, indirect light. Think light, but no harsh sunbeams directly hitting the leaves, which will cause scorch marks, especially on a stressed plant.
- Good spots: Often near an East-facing window (gentle morning sun), several feet back from a sunny South or West-facing window, or under a suitable grow light if you use them.
- Tip: It’s generally safer to start with slightly less light than too much. Observe how the plant reacts over the first few days.
Boosting Humidity (Alocasia’s Best Friend): This is crucial! Alocasias love humidity – ideally aiming for 60% or higher. Most homes are much drier. I remember one ‘Black Velvet’ that looked quite sad upon arrival, but giving it that extra humidity boost near a humidifier really helped it perk up within a week.
- Best bet: Place a humidifier nearby.
- Other options: Create a pebble tray (a tray filled with pebbles and water; set the pot on top of the pebbles, not sitting in the water). Once out of quarantine, grouping plants helps raise local humidity. A bright bathroom can also work well if light permits.
- Misting? It provides only very temporary relief and isn’t a substitute for consistent humidity. Plus, constantly wet leaves can sometimes invite fungal issues if the air circulation is poor.
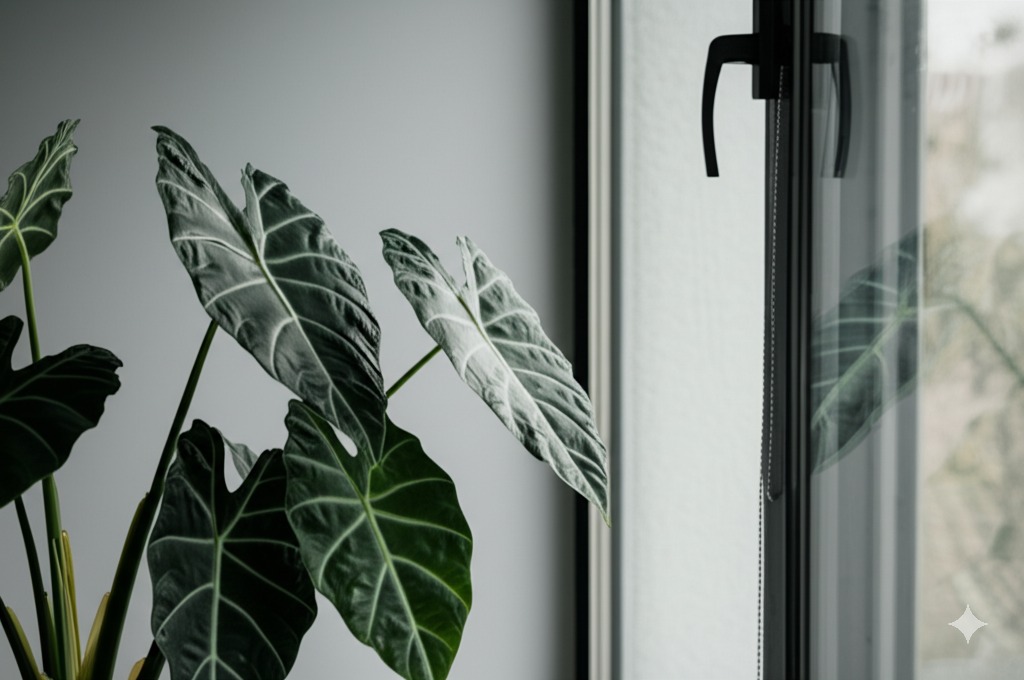
Stable Temperatures & No Drafts: Keep your Alocasia in a spot with stable room temperatures, generally between 65-80°F (18-27°C). Protect it from sudden chills or heat blasts from heating/AC vents, open windows, or drafty doors. They really dislike drafts!
New Alocasia Plant Care First Week: Watering, Feeding, and Patience
The first week is all about gentle care and observation. Here’s your focus for new alocasia plant care first week:
Watering Wisely: Forget watering on a strict schedule. The golden rule is to check the soil first.
- How? Stick your finger about 1-2 inches deep into the potting mix. If it feels dry at that depth, water thoroughly until you see water escaping the drainage holes. If it still feels moist, wait! Stressed plants often drink less water initially. Don’t fret too much if it seems to stay moist longer than expected at first.
- The Big Risk: Overwatering is a major danger for stressed Alocasias, leading quickly to root rot. Ensure the pot has drainage holes and never let the plant sit in a saucer full of water. Discard any excess after watering.
- Water Quality: If you can, use distilled water, rainwater, or filtered water. Some tap water contains minerals that can build up and cause crispy leaf tips over time, although using tap water initially is usually acceptable.
Hold the Repot! Resist the urge to immediately pot your new Alocasia into a fancy new container. Repotting adds significant stress.
- Wait until: The plant has clearly stabilized, adjusted to your home, and ideally is showing signs of new growth. This might take several weeks, or even a month or two. Patience truly is a virtue here.
- The only exceptions: If the nursery pot is literally falling apart or you strongly suspect severe root rot (mushy, smelly roots).
No Fertilizer Needed Yet: Your stressed Alocasia doesn’t need food right now; it needs to rest and adapt. Fertilizer can actually burn its sensitive roots at this stage.
- Wait until: You see consistent, healthy new growth appearing.
The Power of Patience: This might be the hardest part! Give your Alocasia time. Some minor drooping or the loss of an older, lower leaf can be perfectly normal as it redirects energy. Avoid constantly moving it or fussing over it. Provide stable conditions and let it settle. Remember, you are acclimating new alocasia.
Monitoring Your Alocasia: Signs of Success vs. Trouble
Keep a gentle eye on your new plant over the coming days and weeks:
- Positive Signs: Leaves look reasonably perky (or improve if they were droopy), no new yellowing or browning appears after the first few days, and eventually – the best sign – you spot new growth unfurling! (Be patient, this can take time).
- Red Flags (Stress Signals): Uh-oh signals include:
- Yellowing spreading rapidly to multiple leaves (Alocasia yellow leaves after shipping).
- Widespread drooping that doesn’t improve a day or so after watering (could signal root issues if the soil isn’t dry) (new alocasia drooping leaves).
- Multiple leaves falling off.
- Soft, mushy patches on stems or at the base (a potential sign of rot).
- Leaf spots that are growing or spreading.
- Visible pests that you missed initially or that hatched later.
Troubleshooting Common Acclimation Hiccups
Seeing some minor issues? Here’s a quick guide based on common observations:
- One or Two Yellow Leaves: Often, this is just the plant shedding its oldest leaves to conserve resources for acclimation. Remove them once fully yellow/brown. Only worry if the yellowing is widespread or affecting newer leaves.
- General Drooping: First, check the soil moisture! Is it bone dry? Water it. Is it soggy? You might have overwatered – let it dry out more between waterings and ensure drainage is excellent. Also, double-check for cold drafts or very low humidity.
- Crispy Leaf Edges/Tips: This almost always points to low humidity. Try the boosting methods mentioned earlier (humidifier, pebble tray).
- Pests Discovered Later: It happens! Immediately isolate the plant if it wasn’t already. Identify the pest and treat it appropriately. Many growers find success wiping down leaves/stems with a cloth dipped in slightly soapy water or using a pre-mixed insecticidal soap or neem oil spray (always test on a small leaf area first and follow product instructions carefully).
Looking Ahead: Life After Acclimation
How long does this special treatment last? It varies! Some Alocasias settle in within a couple of weeks, others might take a month or two to really feel at home. Once your plant seems stable, is potentially putting out new growth, and the quarantine period is safely over, you can:
- Gradually move it to its more permanent location if the quarantine spot wasn’t it (ensure conditions are similar to avoid another shock).
- Slowly introduce it to your regular houseplant care routine, which will eventually include balanced fertilization during the growing season (spring/summer usually).
Most importantly, celebrate your success! Getting an Alocasia through acclimation is a rewarding step in your plant parenting journey!
Your Acclimation Success Checklist (Recap)
Feeling overwhelmed? Just remember these key steps for acclimating your new Alocasia:
- Inspect: Check thoroughly for pests/disease upon arrival.
- Quarantine: Keep it separate from other plants for 2-4 weeks.
- Indirect Light: Provide bright light, but no direct sun.
- High Humidity: Boost humidity levels significantly (aim for 60%+).
- Water Carefully: Water only when the top 1-2 inches of soil are dry. Ensure drainage.
- No Repot/Fertilizer: Wait until the plant is stable and showing new growth.
- Be Patient: Give it time to adjust. Some initial stress signs can be normal.
Final Encouraging Words
Bringing a new Alocasia home is exciting, and while they might ask for a little extra TLC initially, they are incredibly rewarding plants. By following these steps and giving your new plant some patience and understanding, you’re greatly increasing its chances of long-term success and beauty in your home. Happy growing, fellow Alocasia aficionado!