Hello fellow Alocasia enthusiasts! Isn’t there something magical about these plants? Those stunning leaves, the architectural shapes… they truly are jewels of the plant world. And naturally, as we watch them thrive indoors, many of us start dreaming: could my beautiful Alocasia live outdoors? Imagine those lush leaves catching the sunlight in the garden or on the patio!
It’s a tempting thought, right? But we also know our Alocasias can be a little particular. So, the big question is: Can these tropical beauties actually handle the great outdoors?
I’m here to tell you, with a reassuring smile, yes, they absolutely can… but with some important knowledge and care! It’s not quite as simple as just plonking your prized ‘Polly’ outside and hoping for the best. Understanding their needs is the key to turning that outdoor dream into a happy reality for both you and your plant. Let’s dive into how you can successfully grow alocasia outdoors.
Jump to Sections
ToggleDecoding Plant Hardiness Zones: The Secret Language of Outdoor Growing
First things first, we need to talk about location, location, location – specifically, your climate zone. You’ve probably heard of USDA Hardiness Zones. Think of them as a map showing the average coldest winter temperatures for different areas across the US. (For our friends in the UK and elsewhere, the RHS Hardiness Ratings work on a similar principle, classifying plants by the minimum temperatures they can tolerate).
Why are zones CRITICAL for Alocasias? Because these plants generally hail from warm, tropical places and hate frost. A freeze can severely damage or even kill them. Knowing your zone tells you if your Alocasia could potentially survive the winter outside, or if an outdoor adventure needs to be strictly a summer vacation. Checking a general plant hardiness map and knowing Alocasia’s limits (relevant to the alocasia hardiness zone map concept) is your starting point.
Most Alocasias start to really struggle when temperatures consistently dip below 50°F (10°C), and frost (32°F or 0°C) is the real danger zone where leaf damage is almost certain.
Alocasia Outdoors Year-Round: Living the Tropical Dream (In the Right Place!)
If you’re lucky enough to live in a consistently warm climate – generally USDA Zones 9b/10a or warmer – then yes, you might be able to grow certain Alocasias outdoors all year! This is where the dream of having them as permanent fixtures in your garden landscape becomes possible.
But what does “year-round” truly mean for an Alocasia? Even in warm zones, they might slow down growth or enter a semi-dormant phase during the slightly cooler, shorter days of winter. Don’t expect peak jungle growth 12 months a year!
Want to try growing alocasia in garden landscape permanently?
Soil Prep is Everything!
If planting directly in the ground, you MUST amend the soil. Alocasias need rich, well-draining conditions. Heavy clay soil needs lots of compost or other organic matter mixed in to prevent root rot. Raised beds can also be a great option.
Location, Location, Location
Protect them! Fierce afternoon sun can scorch leaves, and strong winds can shred those gorgeous sails. Dappled sunlight, bright shade, or gentle morning sun with afternoon shade is usually ideal according to standard horticultural practice.
Keeping them in large containers year-round is also a fantastic option in these warm zones, giving you a bit more control over the soil mix.
Summer Vacation: Giving Your Alocasia an Outdoor Holiday (Cooler Zones)
For most of us living outside those balmy Zones 9b/10+, growing Alocasias outdoors means treating them to a delightful summer vacation. Think of it as sending them to a spa where they can soak up natural light and fresh air!
This approach is perfect for gardeners in cooler regions. Here’s the lowdown:
- The Timing is Crucial: Wait until ALL danger of frost has passed in spring, and your nighttime temperatures are consistently staying above a comfortable 50-60°F (10-15°C). Rushing this step can shock your plant.
- The Benefits: Why bother? Oh, the rewards can be great! Many Alocasias put on impressive growth spurts outdoors thanks to the brighter light and natural conditions. It can really reinvigorate a plant.
- Keeping Them Potted: It’s nearly always best to keep your seasonal outdoor Alocasias in their pots. This makes the transition back indoors MUCH easier and gives you control over their soil and watering. It’s the simplest way for growing alocasia in garden landscape temporarily.
- The Return Trip: Be vigilant in the fall! Plan to bring your Alocasia back inside before the first frost is predicted and before nighttime temperatures start consistently dropping near that 50°F (10°C) mark again.
The Acclimation Dance: Your MOST Important Step for Outdoor Success
Okay, friends, lean in close for this one because it’s vital. You absolutely cannot just take your indoor-coddled Alocasia and stick it straight into the bright outdoors. Why? Instant shock! Skipping This is a Recipe for Unhappy Plants (Think sunburn, shock, and droopy sadness!).
Trust me on this one, we need to acclimate them gently. Picture easing into a cool swimming pool versus doing a huge cannonball – that gradual approach is what your Alocasia needs. This crucial step gives its leaves time to adjust to the stronger light, temperature changes, and breezes outdoors. Honestly, rushing the acclimation is probably the #1 mistake I see folks make!
Here’s your step-by-step plan to acclimate alocasia to outdoors/sun (allow about 7-14 days):
Day 1-3: Deep Shade Sanctuary
Start your Alocasia in a spot that gets NO direct sunlight. A covered porch, under a dense tree, or on the shady side of the house is perfect. Let it just get used to being outside.
Day 4-7: Introducing Dappled Light / Gentle Morning Sun
Move it to a spot where it might get maybe an hour of very gentle, early morning sun, or consistent dappled light filtering through leaves.
Day 8-14: Gradually Increasing Exposure (Watching Closely!)
Slowly increase the amount of indirect or gentle morning sun over the next week. Maybe move it to slightly brighter shade, or allow another hour of morning sun. The key is gradual!
Listen to Your Leaves
Your Alocasia will ‘talk’ to you if you’re going too fast. Look for:
- Scorching: Brown, crispy patches or edges. (Sign of too much sun, too fast!)
- Paling/Yellowing: Leaves looking washed out. (Could indicate too much light overall).
- Drooping: Could be water stress OR shock. Always check the soil moisture!
Patience here pays off immensely!
Essential Care Tips for Thriving Outdoor Alocasias
Once successfully acclimated, your Alocasia’s care routine will need some adjustments for outdoor living. Here’s your checklist for alocasia outside care:
Finding the Sweet Spot: Outdoor Light Needs
As mentioned during acclimation, most Alocasias prefer bright, indirect light or dappled shade outdoors. Direct, hot afternoon sun will likely scorch the leaves of popular varieties like ‘Polly’ or ‘Black Velvet’. Morning sun is generally much gentler. Observe your plant and the light patterns in your chosen spot – every garden is different.
Watering Wisdom: Quenching Thirst Outdoors
Be prepared to water more often, especially if your Alocasia is in a pot and the weather is warm, sunny, or windy. Pots dry out much faster outside. The finger test still rules! Check the top 1-2 inches of soil. If it’s dry, water thoroughly until water runs out the drainage holes. Never let your Alocasia sit in a water-logged saucer! Excellent drainage is non-negotiable to prevent root rot.
Soil & Potting: The Right Foundation
If kept in pots, ensure you’re using a high-quality, well-draining potting mix. Amending a standard mix with extra perlite, orchid bark, or coco coir can improve aeration and drainage – crucial for the best soil for alocasia outdoors in containers. For in-ground planting (warm zones only!), remember to heavily amend the native soil with compost or other organic matter.
Feeding for Growth: Fueling Your Outdoor Giant
With more light and potentially faster growth outdoors during summer, your Alocasia might appreciate more frequent feeding. Use a balanced liquid fertilizer, often diluted to half or quarter strength, every 2-4 weeks during the active growing season, as many growers find this works well. Always follow package instructions and watch your plant for signs of over-fertilization (leaf edge burn). Reduce or stop feeding as temperatures cool in autumn.
Pest Patrol: Staying Vigilant Against Critters
The great outdoors means more potential pests on outdoor alocasia. Be proactive! Regularly inspect the leaves (especially the undersides!), stems, and soil surface for common culprits like spider mites (look for fine webbing and tiny dots/stippling), aphids (small pear-shaped insects often clustered on new growth), mealybugs (white cottony masses in crevices), and scale. Slugs and snails can also be an issue if pots are on the ground. Catching them early is key! Treat with insecticidal soap, neem oil sprays, or simply wipe/blast them off with water.
Weathering the Elements: Wind and Rain
Those magnificent leaves can be vulnerable. Try to place your Alocasia in a spot sheltered from strong, gusty winds that can tear or damage the foliage. Make sure pots are stable and won’t easily blow over in a summer storm.
Are Some Alocasias Tougher Than Others for Outdoor Life?
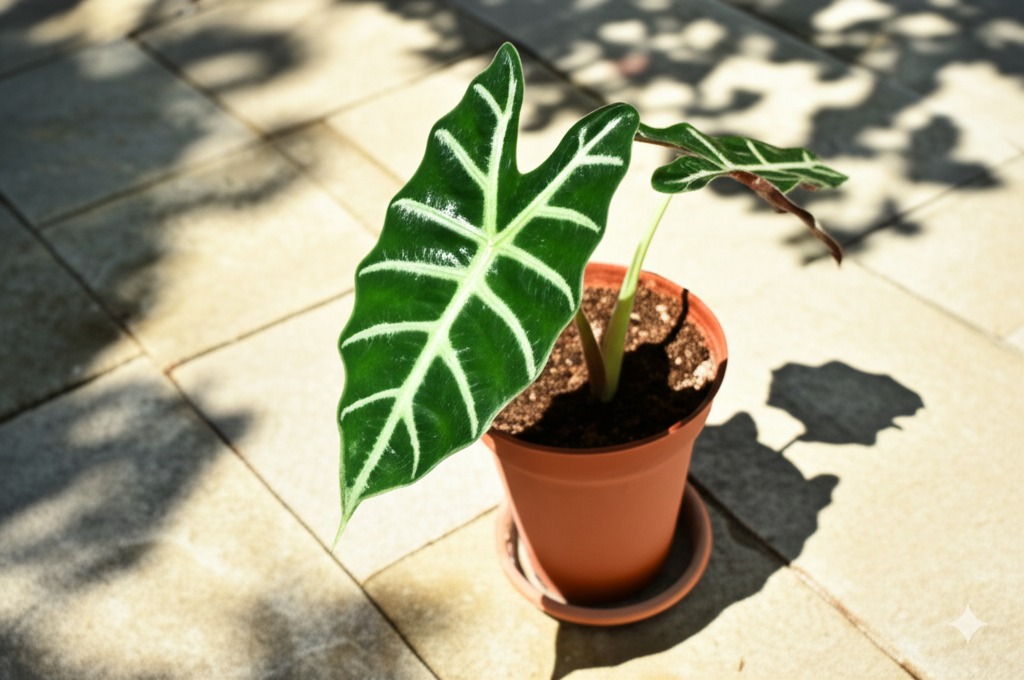
You might wonder if certain hardy alocasia varieties exist. Generally speaking, the larger, thicker-leaved types often grown as landscape plants in tropical areas (like Alocasia macrorrhizos ‘Giant Taro’ or Alocasia odora) tend to be a bit more robust and forgiving of outdoor conditions than the smaller, more delicate ‘jewel’ Alocasias we often cherish as houseplants (A. ‘Polly’, A. ‘Black Velvet’, A. ‘Zebrina’, A. cuprea).
However, ‘tougher’ doesn’t mean frost-proof! Even the big guys generally need those warm zones (9b+) to survive winter reliably outdoors without significant protection. For most popular houseplant varieties, success outdoors (especially seasonally) hinges less on the specific variety and more on your careful acclimation and ongoing care. Don’t expect your delicate ‘Frydek’ to suddenly love direct afternoon sun just because it’s outside! The principles of care remain paramount.
Bringing Them Back Inside: The Reverse Transition (Seasonal Growers)
For those of us enjoying our Alocasias’ summer vacation, the transition back indoors is just as important as the move out.
- Rule #1: Pest Check BEFORE Entry! This is absolutely crucial! Inspect every nook and cranny of your plant for hitchhikers – under leaves, in stem joints, on the soil. You do NOT want to introduce an outdoor pest infestation to your indoor plant collection.
- The Decontamination Station: It’s a very good idea to give the plant a good rinse-down with a hose (gently!) while still outside to dislodge any lurking pests or debris. Some experienced growers even do a preventative spray with insecticidal soap or neem oil a few days before bringing it in. Consider isolating the plant in a separate room from your other houseplants for a week or two upon return, just in case.
- Easing Back into Indoor Light: Just as they needed to adjust to brighter light outside, they ideally need to readjust to lower indoor light levels. If possible, move them to a slightly shadier spot outdoors for a few days before bringing them in, or place them in one of your brightest indoor spots initially.
- Don’t Panic Over Leaf Drop: It’s quite common for Alocasias to protest the move back inside by dropping an older leaf or two, or showing some temporary yellowing. This is usually just transplant shock from the change in conditions. Adjust your watering schedule back to indoor needs (likely less frequent) as growth slows down. Remember when to bring alocasia inside is key – before it gets too cold!
Your Alocasia Outdoor Adventure: Ready to Take the Leap?
So, can Alocasias live outdoors? Absolutely! Whether it’s year-round in a tropical paradise or a rejuvenating summer holiday in cooler climes, it’s definitely possible and can be incredibly rewarding.
Just remember the keys to success:
- Know your hardiness zone.
- Acclimate patiently and carefully – it’s non-negotiable!
- Adjust your care routine (light, water, pests!) for the outdoor environment.
- Listen to what your plant is telling you through its leaves.
Don’t be afraid to try it if your conditions allow. Watching your Alocasia unfurl a giant new leaf under the open sky is a special kind of plant parent joy! Give it a go, observe closely, and enjoy the adventure.
Happy Growing!