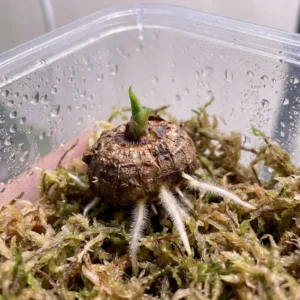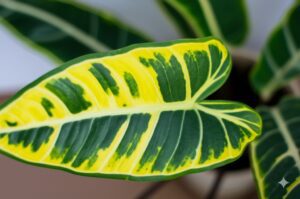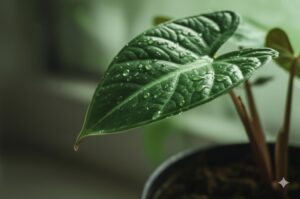
Hello fellow Alocasia enthusiasts! Alex here. If you’re anything like me, you’ve fallen head over heels for these stunning “jewel” plants. Those dramatic leaves, the unique textures of a ‘Black Velvet’ or the striking veins of a ‘Polly’ – they’re simply captivating! But let’s be honest, sometimes these tropical beauties can be a little… particular, shall we say? One of the biggest keys to keeping them happy and thriving indoors? Humidity!
Many Alocasias hail from humid rainforest floors, and our typically dry indoor air, especially with heating or AC, can leave them feeling stressed. But don’t despair if you don’t own an electric humidifier! There are several simple, effective ways to increase humidity for your Alocasia and keep those gorgeous leaves looking their best. Let’s dive into these practical solutions together!
Jump to Sections
ToggleWhy Your Alocasia Craves Humidity: Understanding Their Tropical Soul
Straight from the Rainforest: Alocasia’s Natural Habitat
Imagine the warm, moist air of a tropical rainforest – that’s the natural home for most Alocasias. They are beautifully adapted to environments where the air holds significantly more moisture than the average living room. Understanding this helps us care for them better indoors.
Spotting the Signs: Is Low Humidity Stressing Your Alocasia?
How can you tell if your Alocasia is pleading for more humidity? Keep a keen eye out for these common signals:
- Crispy Brown Edges or Tips: This is the number one classic sign! The delicate leaf edges dry out, turning brown and brittle.
- Yellowing Leaves: While other issues can cause yellowing, chronic low humidity stresses the plant overall and is often a contributing factor.
- Leaf Curling: Leaves might start to curl inwards or look less turgid and a bit limp.
- Pest Problems: Pesky spider mites absolutely thrive in dry conditions. If you spot fine webbing, especially on the undersides of leaves, low humidity is very likely playing a role in their unwelcome visit. Check frequently!
- Slowed Growth: A plant battling dry air simply won’t have the energy to push out lush new growth as readily.
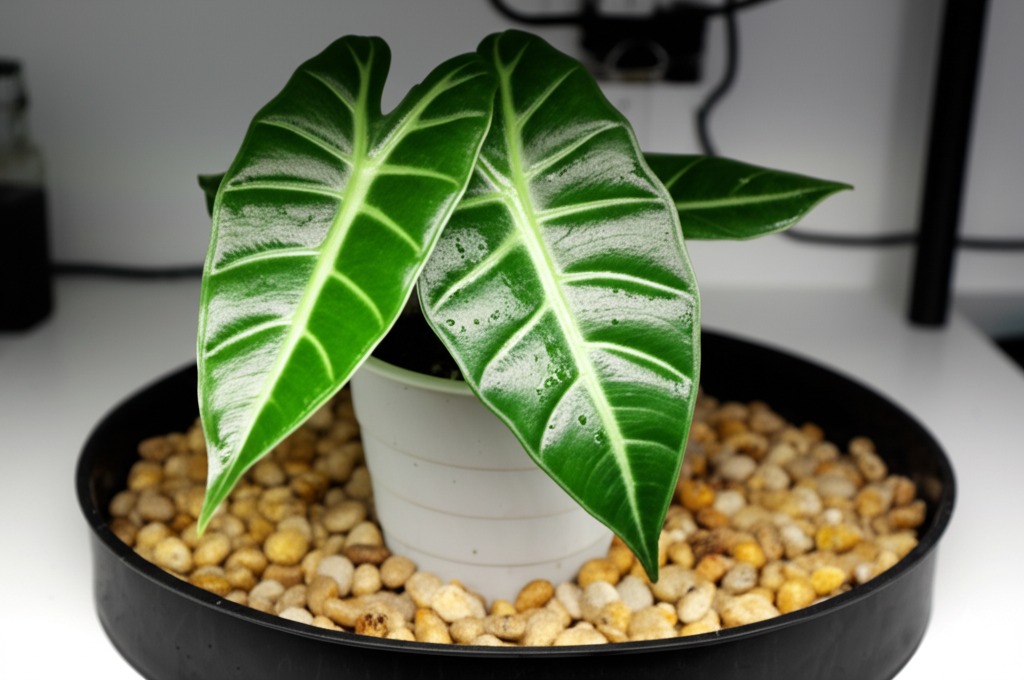
The Sweet Spot: Ideal Humidity Range for Happy Alocasias
While they can survive slightly lower levels, most Alocasias truly flourish when relative humidity is consistently around 60% or higher. Many experienced growers find the 60-70% range is a great target, achievable with the methods below. Getting into this zone makes a visible difference in their health and vibrancy.
Method 1: Buddy Up! Grouping Plants to Increase Humidity Naturally
This is perhaps the easiest and most aesthetically pleasing trick in the book!
How it Works: Creating a Humid Microclimate Through Transpiration
Plants naturally release water vapor from their leaves – a process called transpiration. When you group several plants close together, this released moisture gets concentrated in the air immediately surrounding them. Think of it like plant friends gathering – they create their own slightly more humid microclimate!
Tips for Successful Plant Grouping
- Choose Humidity Lovers: Group your Alocasia with other plants that also enjoy higher humidity (like ferns, Calatheas, Marantas, even other Aroids). They’ll all benefit!
- Ensure Good Airflow: This is non-negotiable! Don’t pack plants so tightly that air can’t circulate freely between them. Stagnant, moist air is an open invitation for fungal problems like powdery mildew. Leave a little breathing room – it’s crucial for plant health.
Limitations: What Grouping Alone Can Achieve
While definitely helpful and something I always recommend, grouping plants to increase humidity usually provides only a modest boost. It’s an excellent starting point or supplementary method, but might not be sufficient on its own if your home air is extremely dry (like in winter with central heating).
Method 2: The Trusty DIY Humidity Tray for Plants
This is a wonderfully reliable method, fantastic for giving an individual Alocasia (or a small, tight group) a dedicated humidity boost right where it counts. It’s a favorite technique for many plant parents.
Why Pebble Trays Work Wonders for Local Humidity
A humidity tray, often called a pebble tray, works through simple, continuous evaporation. Water in the tray evaporates upwards, directly increasing the moisture content of the air around your Alocasia’s leaves.
Gather Your Supplies: What You’ll Need for Your DIY Humidity Tray
Making one is incredibly straightforward. You just need these basics:
- A waterproof tray or saucer that’s wider than the plant’s pot base. An old baking dish, a sturdy plastic plant saucer, or even a decorative ceramic tray will do nicely.
- Enough clean pebbles, gravel, decorative stones, or even LECA clay pebbles to cover the bottom of the tray generously. Ensure they are large enough to keep the pot base elevated.
- Water (filtered or rainwater is great if you have hard tap water, to reduce mineral buildup).
Step-by-Step Guide: Creating and Using Your Pebble Tray Effectively
- Spread your chosen pebbles evenly across the bottom of the tray.
- Add water until the level is just below the top surface of the pebbles. Listen closely, this is the important part: The bottom of your plant pot must sit on top of the pebbles, completely above the waterline. You never want the pot base soaking in water, as this is a fast track to root rot – a lesson many of us learn the hard way!
- Carefully place your potted Alocasia onto the pebbles.
- Check the water level every day or two (more often in dry, warm conditions) and top it up as needed, always keeping it below the pot base.
Keep it Clean, Keep it Working: Maintaining Your Humidity Tray
To prevent yucky algae growth, mineral build-up, or providing a breeding ground for pests like fungus gnats, it’s vital to clean your diy humidity tray for plants regularly. A good practice is to give the tray and pebbles a scrub with mild soap (like dish soap) and water every week or two. Rinse thoroughly! Using diluted white vinegar can also help dissolve mineral scale occasionally.
Method 3: Smart Placement & Simple Enclosures for a Humidity Boost
Thinking strategically about where your Alocasia lives can also make a surprising difference.
Leveraging Naturally Humid Spots: Bathrooms and Kitchens (If Light Allows!)
These rooms often boast higher ambient humidity due to showers, baths, boiling kettles, and sinks. If – and it’s a big if – you have a spot in your bathroom or kitchen that receives consistent, bright, indirect light suitable for an Alocasia (many bathrooms are too dim, so assess honestly!), it can be an ideal location. Just be mindful to avoid placing them right next to heat sources (like ovens or radiators) or in drafty spots near windows or vents.
Creating a Mini Greenhouse Effect: Using Cloches or Terrariums for Smaller Alocasias
For petite Alocasia varieties, sensitive young plants, or one that’s recovering and needs extra TLC, using a glass cloche or placing it inside a small terrarium (even a large, clear storage box can work!) can dramatically increase humidity by trapping moisture. Remember that these enclosed environments absolutely require regular venting – opening them up for a period each day lets fresh air circulate, preventing mold and ensuring the plant gets CO2. This is crucial for long-term health in an enclosure.
A Quick Word on Misting: Why It’s Not the Long-Term Answer
Ah, misting. It’s perhaps the most frequently suggested humidity hack, but its benefits are often overstated for Alocasias.
The Temporary Fix: Why Misting Falls Short for Alocasia Humidity Needs
Spraying a fine mist on the leaves feels nice, but the effect is incredibly fleeting. The water evaporates very quickly, often within minutes, providing only a momentary bump in humidity right at the leaf surface. It does very little to raise the overall ambient humidity of the room, which is what Alocasias need for sustained health according to standard horticultural practices.
Potential Downsides of Over-Misting
Worse, if leaves remain wet for extended periods, especially overnight or in conditions with poor air circulation, it can potentially encourage unwanted fungal or bacterial leaf spot diseases. So, while a quick spray now and then to clean dusty leaves might be okay, don’t rely on misting as your primary strategy to increase humidity for Alocasia. Focus on methods that provide a more consistent, ambient boost.
Are Your Methods Working? Monitoring Humidity for Your Alocasia
How can you be sure your efforts are making a difference? Two key ways:
Invest in a Hygrometer: Your Best Friend for Measuring Humidity
The most reliable way to know the humidity level your plant is actually experiencing is to measure it! Small, inexpensive digital hygrometers are fantastic tools (they usually measure temperature too). Place one right next to your Alocasias to get an accurate reading of the relative humidity percentage in their immediate zone. Aiming for that 60%+ range gives you a clear goal and helps track your success.
Read the Leaves: Observing Your Alocasia for Positive Changes
Your plant is the ultimate reporter! Look for positive signs: fewer crispy edges on new growth, leaves that look perkier and more vibrant, and steady, healthy development. Honestly, seeing that stunning new leaf unfurl perfectly without any brown tips is one of the best rewards in plant care! It tells you you’re getting things right.
Conclusion: Thriving Alocasias Without the Humidifier Hassle
So there you have it! You absolutely can create a more humid, welcoming haven for your precious Alocasias without investing in an electric humidifier. By thoughtfully grouping plants to increase humidity, utilizing the simple yet effective diy humidity tray for plants, or choosing smarter locations within your home, you can significantly improve their environment and encourage them to truly flourish.
Remember to observe your plants closely, trust your instincts, maybe grab that little hygrometer to take the guesswork out, and adjust your approach as needed based on your specific home conditions. Providing that extra bit of moisture in the air is one of the most impactful ways to show your Alocasia love. Happy growing – it’s incredibly rewarding to watch these jungle jewels thrive under your dedicated care!