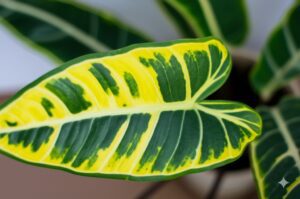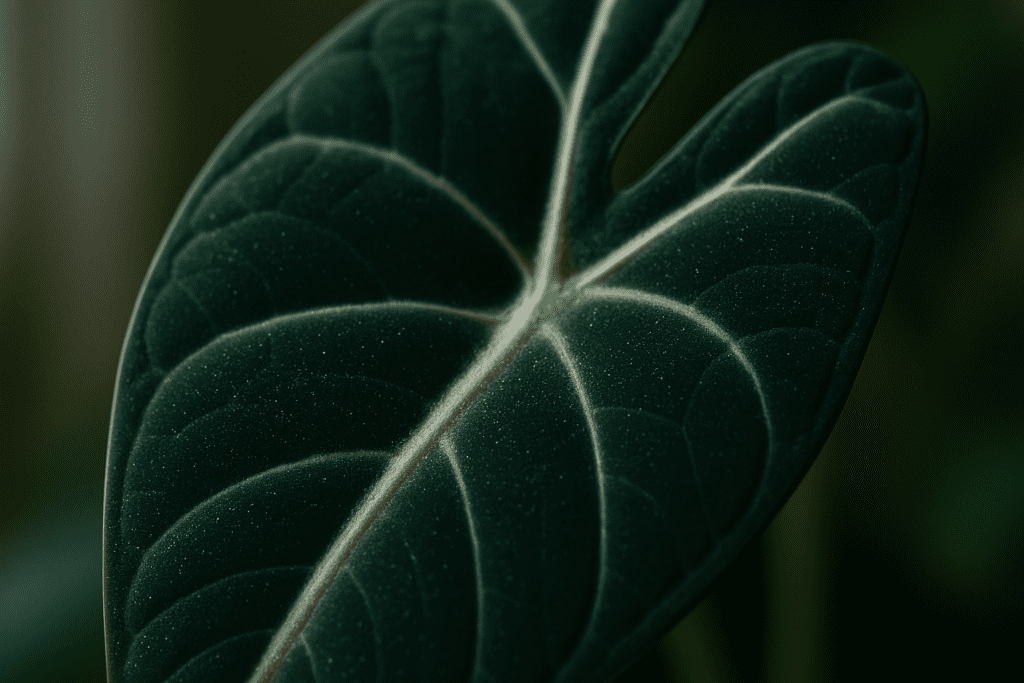
Hello fellow Alocasia lovers! It’s Alex here, your friendly neighborhood Alocasia aficionado. We all adore these stunning plants, often called ‘jewels’ of the houseplant world, right? From the striking veins of a ‘Polly’ to the deep allure of a ‘Black Velvet’, they bring so much drama and beauty to our homes. But sometimes, uninvited guests try to crash the party. Today, we’re tackling one of the most common (and frankly, annoying) pests: spider mites.
Don’t panic if you suspect these tiny critters have taken a liking to your beloved Alocasia. It happens to the best of us! The key is spotting them early and acting effectively. This guide will walk you through exactly how to identify spider mites on your Alocasia and the best ways to send them packing.
Jump to Sections
ToggleUh Oh, Are Those… Spider Mites? What Every Alocasia Parent Needs to Know
First things first, let’s get acquainted with our adversary.
Meet the Tiny Terrorists: What Exactly ARE Spider Mites?
Despite their name, spider mites aren’t actually spiders, but they are closely related – tiny arachnids in the Tetranychidae family. They are incredibly small, often looking like minuscule moving dots, and can be reddish, brown, yellow, or pale. What makes them such a nuisance? They feed by piercing the cells of leaves and sucking out the vital juices, robbing our plants of nutrients and moisture.
Why Your Precious Alocasia Might Be a Target
You might wonder why your Alocasia seems particularly attractive to these pests. Alocasias generally love higher humidity levels to thrive. Unfortunately, many of our homes, especially during winter when the heating is on, tend to have the warm, dry conditions that spider mites absolutely adore. Plus, those gorgeous, large Alocasia leaves offer plenty of surface area for feeding and lots of nooks and crannies (especially the undersides!) for hiding. A stressed Alocasia (maybe underwatered or not getting quite enough light) can also be more vulnerable.
Playing Plant Detective: How to Spot Spider Mites on Your Alocasia
Early detection is your best friend in the fight against spider mites. Grab your reading glasses or a magnifying glass, and let’s investigate!
Catch Them Early! Look for These Warning Signs
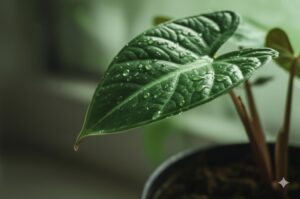
The very first sign of spider mite damage on Alocasia is often subtle. Look closely at the tops of the leaves for tiny yellow or white speckles, almost like someone lightly dusted the leaf with powder. This is called stippling. The leaf might also lose its healthy green luster and start to look a bit dull. Always, always make sure to check the undersides of the leaves – that’s their favorite hangout spot!
The Telltale Clue: Fine Webbing
This is the classic sign most people associate with spider mites. You might see fine, delicate, silk-like webbing, especially where the leaf meets the stem (the axil), between leaves, or sometimes covering larger areas in heavy infestations. Think of it like tiny, unwanted Halloween decorations – if you see this, you definitely have spider mites, and likely a well-established colony.
The White Paper Test: A Simple Trick to Confirm Suspicions
Not sure if those specks are moving? Try this easy detective trick. Hold a clean sheet of white paper under a leaf you suspect is infested. Gently tap the leaf and stem. Tiny specks might fall onto the paper. Now, watch closely for a few seconds. Dust and debris will stay put, but spider mites will start to crawl around. It’s a super simple way to confirm their presence.
Seeing is Believing: What Spider Mites Look Like Up Close
If you use a magnifying glass (even a simple 10x one helps!), you’ll be able to see the mites themselves. They look like tiny oval-shaped dots, possibly with little legs visible. Remember, they can be different colors, so don’t just look for red ones. Seeing these tiny moving specks is definitive proof. Answering what do spider mites look like up close? Tiny moving dots, basically!
Is it Mites or Just Dust? Key Differences
Sometimes dust accumulation, especially on textured Alocasia leaves, can look suspicious. The key difference is movement. Dust is static, usually gray or brown, and wipes off easily without smearing like crushed mites might. Mites move (slowly!), and you’ll often see the accompanying stippling or webbing which dust doesn’t create.
Your Battle Plan: Effective Methods to Treat Spider Mites on Houseplants (Especially Your Alocasia!)
Okay, you’ve confirmed it – spider mites. Take a deep breath. It’s time for action! Here’s how to treat spider mites on houseplants, with a focus on our beloved Alocasias.
Step Zero: Quarantine! Stop the Spread Immediately
This is CRITICAL. As soon as you suspect spider mites on one plant, move it far away from all your other houseplants. Spider mites spread easily via air currents, touching plants, or even on your hands or watering can. Isolation prevents a small problem from becoming a collection-wide nightmare.
First Strike: Mechanical Removal Tactics
Before reaching for sprays, let’s physically remove as many mites as possible.
- Washing/Showering: Give your Alocasia a good shower! Take it to a sink or bathtub and use a sprayer with lukewarm water (not too cold, not too hot) to thoroughly rinse the entire plant. Pay special attention to the undersides of the leaves and the stems. This physically blasts away many adult mites and webs. Let it air dry away from direct sunlight. Washing plants for spider mites is often a very effective first step.
- Wiping Leaves: Follow up the shower (or use this for milder cases) by gently wiping down every single leaf (top and bottom!) and the stems with a soft, damp cloth. You can just use water, or add a tiny drop of mild soap. Rinse the cloth frequently in clean water to avoid spreading mites around. This helps remove any stragglers and eggs. Knowing how to clean alocasia leaves spider mites thoroughly is key.
Gentle Giants: Natural & Low-Toxicity Treatment Options
Many of us prefer starting with safer, more natural methods, especially indoors. These are often very effective if used persistently. Consider these natural remedies for spider mites on houseplants:
- Insecticidal Soap: This isn’t your regular dish soap! Use a commercially formulated insecticidal soap designed for plants, or make your own carefully using pure castile soap (like Dr. Bronner’s) – avoid detergents containing degreasers or other additives. It works primarily by disrupting the outer cell membranes of soft-bodied pests like spider mites, leading to dehydration and death. You must get direct contact, so spray thoroughly, ensuring you soak the undersides of leaves and stems where mites hide. Repeat applications every 5-7 days for several weeks are crucial because it only kills mites present during spraying, not eggs or resistant stages.
- Pros: Relatively safe for plants and homes when used correctly, easy to find.
- Cons: Requires direct contact, frequent reapplication needed.
- Neem Oil: A very popular choice among plant parents. Neem oil for spider mites on Alocasia works in multiple ways – it repels them, messes with their feeding and growth, and can smother them. You need cold-pressed neem oil for the best effect. Since oil and water don’t mix naturally, you’ll need to add a few drops of mild liquid soap (like castile soap, not dish detergent) to act as an emulsifier, helping the oil disperse evenly in the water. Follow product instructions carefully for dilution rates. Spray thoroughly, coating all surfaces. Apply in the morning or evening, never in direct sunlight, as neem oil can cause leaf burn. Always test on a small, hidden leaf first and wait 24-48 hours to check for sensitivity. Repeat every 7-10 days.
- Pros: Multiple modes of action, somewhat residual effect.
- Cons: Distinct smell (some find it unpleasant), potential for leaf burn if misused, effectiveness can vary. Using neem oil spider mites Alocasia treatment requires care.
- Horticultural Oils: These are highly refined oils (mineral or plant-based) that work by smothering mites and their eggs. Use lighter ‘summer’ or ‘all-season’ oils for actively growing indoor plants according to label directions. Again, thorough coverage is key. There’s a risk of leaf burn, especially if applied in heat or direct sun, or if the plant is stressed. Always test spot first and follow label directions precisely. Using horticultural oil spider mites indoor plants needs caution.
Bringing Out the Big Guns: When to Consider Miticides
If you have a very severe infestation, or if the gentler methods just aren’t cutting it after several persistent applications, you might need to consider a stronger chemical treatment, specifically a miticide for houseplants.
- Understanding the Difference: Contact vs. Systemic Miticides:
- Contact miticides kill mites they directly touch during application (like insecticidal soap, but often stronger chemicals like pyrethrins). Require thorough coverage and repeat applications.
- Systemic miticides are absorbed by the plant tissues (via spray or soil drench). When mites feed on the plant, they ingest the poison. These offer longer protection but are stronger chemicals.
- Choosing the Best Insecticide for Spider Mites on Alocasia: There isn’t one magic bullet answer to the best insecticide for spider mites on alocasia. The ‘best’ choice depends on:
- How bad the infestation is.
- Your personal comfort level with using chemicals indoors.
- Whether you have pets or children (prioritize safety!).
- If gentler methods have repeatedly failed.
- Crucially: Look for products specifically labeled as miticides (mite killers) and check if they are safe for houseplants or specifically mention ornamentals. Some general insecticides aren’t very effective on mites. Regarding systemic insecticide alocasia safe use – always check the label; some systemics are fine, others might harm sensitive plants.
- Sensitivity & Testing: While these methods are generally applied across many houseplants, Alocasias can sometimes be sensitive. Always test any spray (natural or chemical) on a small, hidden leaf first and wait 24-48 hours to check for any adverse reaction like spotting or burning before applying to the whole plant.
- Safety First! Precautions When Using Chemical Treatments: If you choose chemical miticides, please be careful. Always read and strictly follow the manufacturer’s label instructions exactly. Wear protective gloves, consider eye protection and a mask, and apply in a well-ventilated area (outdoors or a garage is ideal if possible), away from food, pets, and kids. Never spray in direct sunlight or high temperatures.
The Secret Weapon: Persistence and Thoroughness
This is perhaps the most important tip! Spider mites have a rapid life cycle, with eggs hatching every few days in warm conditions. A single spray won’t get them all. You MUST be persistent with your chosen treatment. Repeat applications (usually every 5-10 days, check product label) for at least 3-4 cycles (so, over several weeks) to catch newly hatched mites before they mature and reproduce. Getting rid of spider mites permanently relies heavily on breaking this cycle. Be thorough – hit every leaf top and bottom, every stem, every nook and cranny. Remember, consistency is your superpower in this fight!
Fort Knox Your Flora: Preventing Future Spider Mite Invasions
Once you’ve won the battle, you want to prevent a rematch! Preventing pests on indoor plants is all about making the environment less welcoming for them, as horticultural best practices suggest.
Make it Humid! Create an Environment Mites Hate
Remember how mites love dry conditions? Do the opposite! Aim to keep the humidity around your Alocasia consistently above 50-60%. Use a humidifier (the most effective way), place the pot on a pebble tray filled with water (don’t let the pot sit in water), or group plants together to create a more humid microclimate. Wondering what humidity level do spider mites hate? High ones! This is your best defense. Regular misting offers only temporary relief but can help supplement other methods for how to increase humidity for alocasia.
Become a Vigilant Plant Parent: Inspect Regularly
Make it a weekly habit to quickly check your Alocasia, especially the leaf undersides. Catching a few mites early is much easier than dealing with a full-blown infestation.
The Quarantine Zone: Protect Your Collection from Newcomers
Whenever you bring a new plant home (Alocasia or otherwise), keep it isolated from your existing collection for at least 2-4 weeks. Inspect it carefully for any signs of pests during this period before giving it the all-clear.
Keep it Clean: Wipe Down Leaves Periodically
Gently wiping your Alocasia’s leaves with a damp cloth not only keeps them looking gorgeous and improves photosynthesis, but it also removes dust where mites can hide and gives you a chance to spot early problems.
The Comeback Kid: Can My Alocasia Recover from Spider Mites?
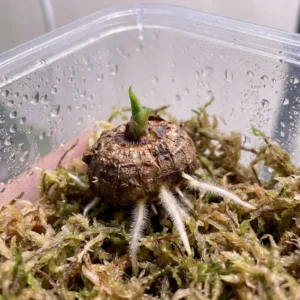
Feeling worried about your plant after an infestation? Wondering can spider mites kill Alocasia? While a severe, untreated infestation can potentially kill a plant, the good news is that Alocasias are surprisingly resilient! Even if your plant loses quite a few leaves during the battle, don’t give up hope. Can Alocasia recover from spider mites? Absolutely, yes!
As long as the underground corm or rhizome is healthy, it has the energy stores to push out new growth once the stressor (the mites) is gone. After treatment, continue to monitor closely for any returning pests. Provide your Alocasia with its preferred conditions – appropriate light, consistent watering (letting the top inch or so dry out), and, crucially, that higher humidity. Hold off on fertilizing until you see definite signs of new growth, as fertilizing a stressed plant can sometimes do more harm than good. Be patient, and celebrate every new leaf unfurling – it’s a sign you’ve won!
Conclusion: You’ve Got This, Fellow Alocasia Enthusiast!
Dealing with spider mites on your treasured Alocasia can feel disheartening, but it’s a common challenge that you can absolutely overcome. Remember the key steps: Identify them accurately, Isolate the plant, Treat persistently and thoroughly using the method you’re most comfortable with, and focus on Prevention by creating a less inviting environment (hello, humidity!).
Many new Alocasia owners get discouraged when they first spot pests, but trust me, with a little diligence and patience, you can definitely win this battle and keep your ‘jewel’ Alocasias healthy and thriving. Happy growing!